- By Bryan Uslu
- In Build, Repairs
How to Plan and Execute a Successful Bathroom Renovation
A bathroom renovation can transform one of the most essential spaces in your home into a more functional, stylish, and comfortable area. Whether you're updating an old bathroom, making it more energy-efficient, or completely redesigning the layout, this guide will help you navigate the process step by step.
Step 1: Plan Your Bathroom Renovation
-
Step 1: Set Your Budget: Start by determining how much you’re willing to spend. Bathroom renovations can vary widely in cost depending on the materials and scope of work. Make sure to allocate around 10-15% of the budget for unexpected costs or surprises along the way.
-
Step 2: Identify Your Needs and Priorities: Think about how you use your bathroom. Is it a busy family bathroom that needs more storage and durability, or is it a personal space where you want to focus on luxury and aesthetics? List your priorities, like a larger shower, more storage, or heated flooring.
-
Step 3: Choose a Style and Design: Look for inspiration online, in magazines, or even from home improvement stores. Decide whether you want a modern, rustic, traditional, or minimalist style. You can mix and match, but aim for consistency to keep the space cohesive.
-
Step 4: Hire Professionals or DIY: Some parts of a bathroom renovation, like tiling or painting, may be DIY-friendly, but for plumbing and electrical work, hiring licensed professionals is essential. Decide early on what parts of the project you’ll do yourself and which tasks you’ll leave to experts.
Step 2: Plan the Layout
-
Step 1: Keep Plumbing in Mind: Moving plumbing can be costly, so if possible, try to keep your sink, toilet, and shower in their current positions. However, if your layout doesn’t suit your needs, consult with a plumber to see how feasible changes are.
-
Step 2: Maximize Space: In smaller bathrooms, it’s essential to maximize space. Consider adding wall-mounted cabinets, installing shelves, or using a vanity with built-in storage. A sliding door or pocket door could save space compared to a traditional swinging door.
-
Step 3: Consider Lighting and Ventilation: Good lighting is vital in a bathroom. Add overhead lights, as well as task lighting near mirrors. Also, make sure the space is well-ventilated to prevent mold and mildew. Installing a vent fan or upgrading the existing one is often a smart move.
Step 3: Choose Materials and Fixtures
-
Step 1: Flooring: Tiles are the most popular choice for bathroom floors because they’re water-resistant, easy to clean, and come in many styles. Vinyl and waterproof laminate are also affordable, practical options.
-
Step 2: Walls and Tiles: Ceramic, porcelain, or natural stone tiles are great for walls and showers. Consider using a bold accent tile in the shower or as a backsplash to add some personality.
-
Step 3: Vanity and Countertops: Choose a vanity that fits your storage needs and complements your design style. For countertops, materials like quartz, granite, or solid surfaces are excellent choices due to their durability and water resistance.
-
Step 4: Fixtures: Modernize your space with sleek fixtures. For faucets, showerheads, and taps, look for options that combine aesthetics with water efficiency. Don’t forget to pick out mirrors and lighting fixtures that match the overall style of your bathroom.
Step 4: Demolition and Preparation
-
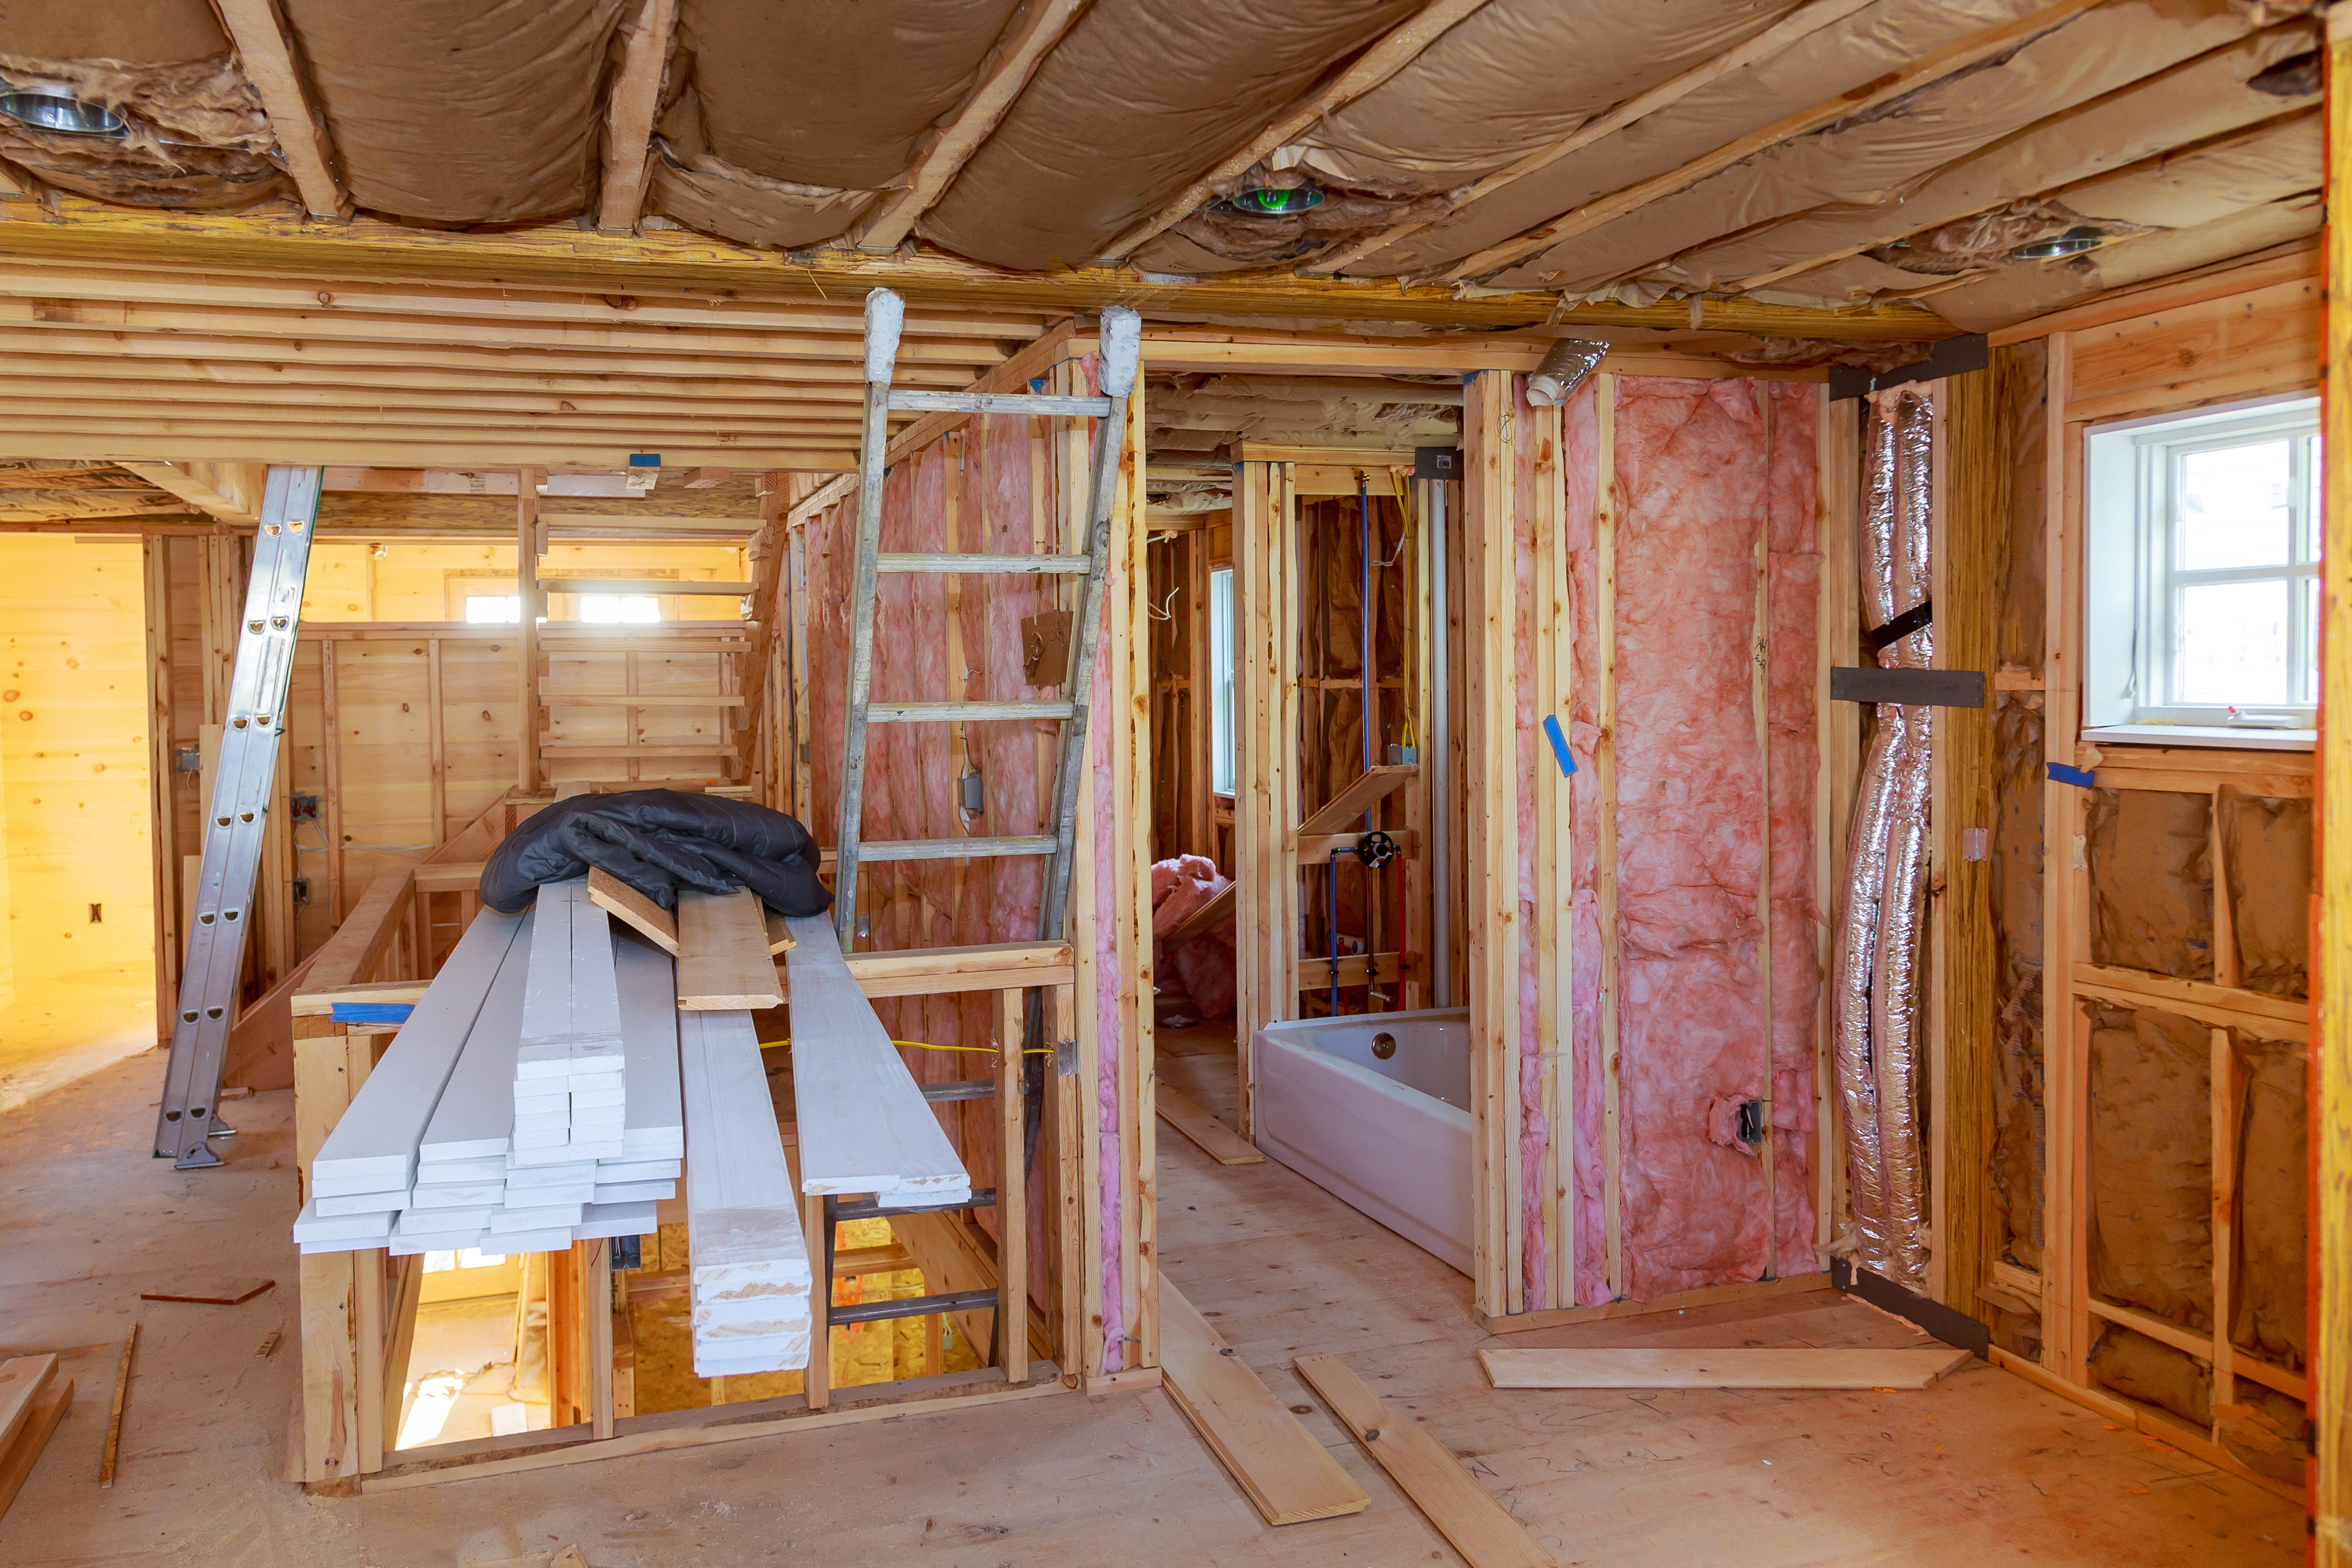
Step 1: Remove Old Fixtures: Start by removing the old fixtures, tiles, and cabinetry. Be careful not to damage any plumbing or electrical components if you plan to reuse them.
-
Step 2: Check for Issues: During demolition, inspect the space for hidden problems like water damage, mold, or poor insulation. It’s better to address these issues now before moving forward with new installations.
Step 5: Installations and Finishing Touches
-
Step 1: Start with Plumbing and Electrical: If you’re moving or updating any plumbing or electrical components, this should be done first. Licensed professionals will ensure everything is up to code and properly installed.
-
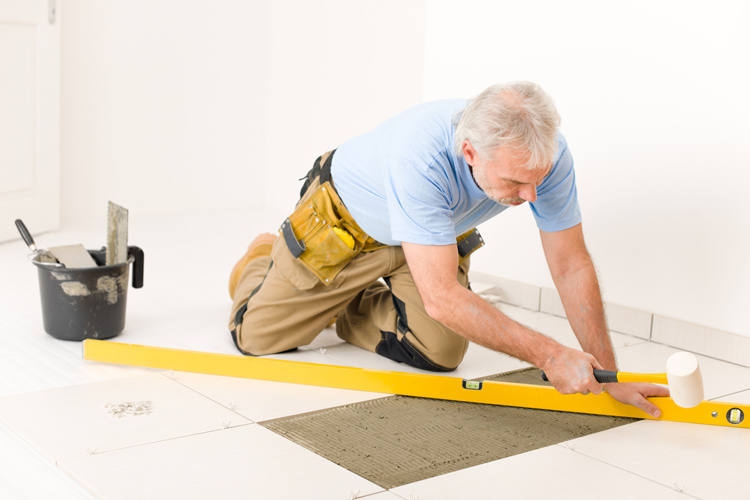
Step 2: Lay Flooring and Tiles: Once the plumbing is set, install your new flooring and tilework. If you’re tiling the walls or shower, use a waterproofing membrane to prevent future leaks.
-
Step 3: Install Vanity, Sink, and Toilet: After the flooring and tiling are in place, install the new vanity, sink, toilet, and any cabinetry. Make sure everything is properly sealed to avoid water damage.
-
Step 4: Finishing Touches: The final step is to add mirrors, lighting, and other finishing touches like towel bars, shower curtains, or glass shower doors. Small decor elements such as plants or artwork can personalize the space even more.
Step 6: Enjoy Your New Bathroom!
After all the hard work, it’s time to enjoy your newly renovated bathroom. Whether you’ve added luxurious features like a rain shower or simply updated the tiles and fixtures, your new space should feel fresh, functional, and tailored to your needs.
Conclusion:
A bathroom renovation can seem overwhelming, but with careful planning and attention to detail, it can be a rewarding experience. Follow these steps, and you’ll soon have a bathroom that adds comfort, style, and value to your home. If you're ready to start your bathroom renovation project in Texas, feel free to contact us for a free consultation!


